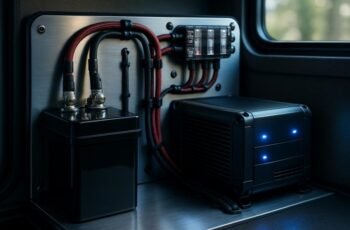
We’ll guide you through choosing and installing a motorcycle lithium battery with care and precision. We’ll match voltage, capacity, and chemistry to your bike’s needs, verify connectors and space, and align the charging system. We’ll emphasize safe tools, proper insulation, and correct torque, then walk you through wiring checks and initial tests. If you’re ready to ensure reliable power and long-term care, there’s more we can cover as we proceed.
Key Takeaways
- Verify battery compatibility: match bike model, electrical draw, voltage, capacity, C-rate, size, and charging profile to avoid mismatches.
- Confirm fitment and mounting: ensure direct fit, correct polarity, mounting brackets, and clearances during suspension travel and steering.
- Check charging system compatibility: align alternator/ regulator output with lithium charging needs and verify under load with voltage stability.
- Inspect wiring and safety: secure clean connections, proper grounding, routing away from heat, and protected/torque-rated fastenings.
- Document and test: record criteria, adapters, torque values, and perform startup and diagnostic tests after installation.
Choose the Right Motorcycle Lithium Battery: Criteria and Compatibility
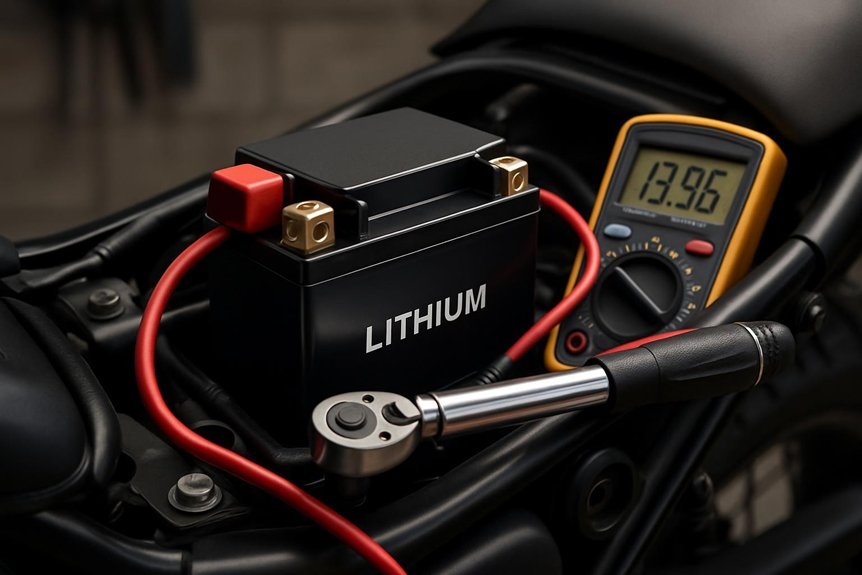
Choosing the right motorcycle lithium battery starts with clear criteria and compatibility checks. We define our needs by bike model, load, and anticipated climate, then match voltage, capacity, C-rate, and size. Our process centers on battery chemistry, consistently verifying that the chemistry suits electrical draws, charging profiles, and manufacturer guidance. We confirm connector types, mounting options, and weight, ensuring a clean fit without bulk or interference. We assess charging compatibility with stock regulators and alternators, avoiding mismatched charging currents. We examine warranty terms, service support, and documentation for installation steps. We perform lifecycle testing mentally against real-world use, noting expected longevity and failure modes, and we avoid irrelevant connections. Finally, we document our criteria, so every choice remains traceable, repeatable, and aligned with rider expectations.
Safety First for Motorcycle Lithium Batteries: Tools, PPE, and Handling
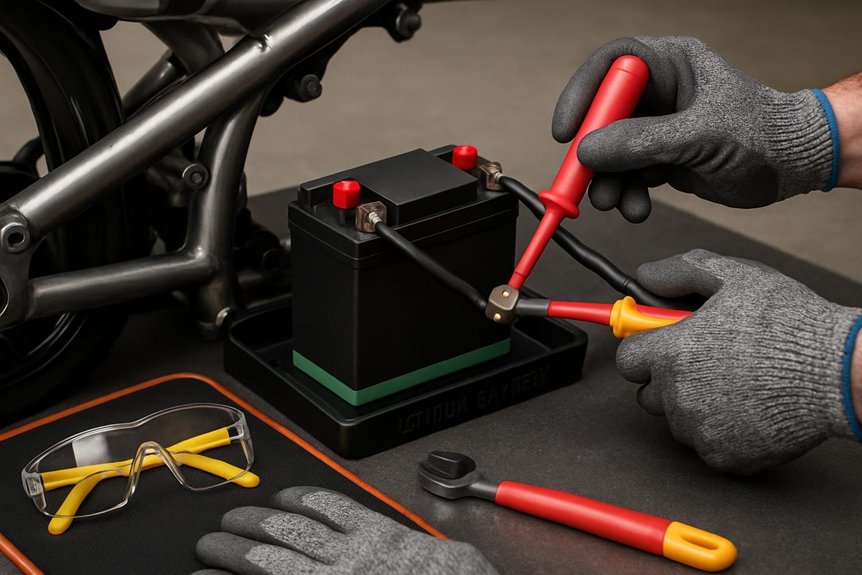
Safety first, always: handling motorcycle lithium batteries requires proper tools, PPE, and disciplined procedures to prevent shocks, shorts, or fires. We outline essential tools, including insulated pliers, a torque wrench, correct size hex bits, and a non-conductive mat. Wear flame-retardant gloves, eye protection, and arc-rated clothing; avoid metal jewelry. Work in a ventilated area, away from heat sources, and keep water away from batteries. Disconnect the pack with correct terminal protocols, then inspect for damage before handling. Store batteries upright, in a cool, dry location when not in use. Regularly audit bike storage for secure access and theft prevention, and use tamper-evident seals on storage containers. Follow manufacturer specs for charging and disposal to maintain safe, reliable operation.
Assess Battery Compatibility and Prepare Your Bike
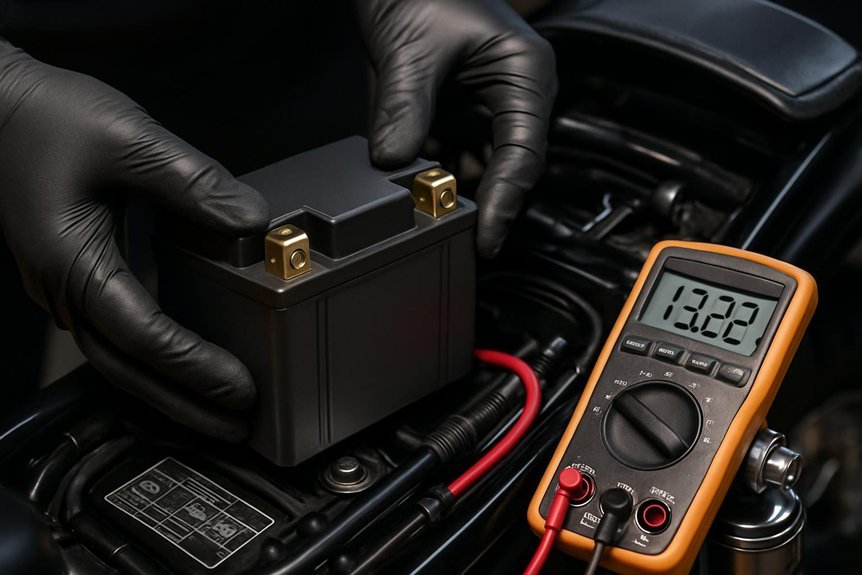
We verify fitment to guarantee the new battery sits securely without interference. Next, we check the charging system to confirm proper voltage, amperage, and charging paths. Finally, we inspect wiring compatibility for connectors, routing, and insulation to prevent shorts or heat buildup.
Verify Battery Fitment
Before we install, we verify that the battery fits your bike and matches its electrical system. We begin with a direct fit check: confirm battery dimensions against the previous battery cavity, then compare connector types and polarity with the bike’s harness. We measure mount spacing for compatibility with the frame brackets and existing mounting points. We also verify fitment against any side-rail or subframe obstructions to ensure clearance during suspension travel and steering. If the case includes accessory studs or venting features, we confirm alignment with corresponding cutouts. We document any required adapters or spacers, noting torque values for secure mounting. Finally, we re-check electrical polarity and fuse sizing to prevent future issues. This systematic review prevents fitment surprises downstream.
Check Charging System
With fitment checked, we now evaluate the charging system to ensure battery compatibility and prepare the bike for use. We verify alternator output matches the lithium battery’s charging profile, noting voltage range, amperage, and regulator behavior. We confirm the battery chemistry is suitable for the bike’s charging characteristics and avoid mismatches that could shorten life or trigger safety limits. We test the alternator under load, observing voltage stability and ripple to prevent overvoltage. We inspect the wiring harness for clean connections, secure grounds, and absence of corrosion that could impede charging efficiency. We confirm discharge requirements for storage and starting are aligned with the bike’s electrical load. We document findings and adjust system limits before the first ride.
Inspect Wiring Compatibility
Inspect wiring compatibility by verifying that the battery connections match the bike’s harness and that the grounds are solid and corrosion-free. We start with a clean, dry workspace and a controlled environment to prevent contaminants from sneaking into terminals. Next, we confirm connector compatibility across all leads, noting any mismatches or adapters needed before final installation. We test continuity between the battery terminals and the bike’s main bus, watching for resistance spikes that indicate poor connections. Perform insulation testing on cables, ensuring no breaks or exposed conductors near heat sources or sharp edges. Label each connector for future maintenance and document any deviations from the stock harness. Finish by securing all grounds, rechecking torques, and reflowing connections with dielectric grease where applicable for longevity and reliability.
Install and Mount Your Motorcycle Lithium Battery Safely
We’ll start by securing the battery with the manufacturer’s mount and any reinforced strap or bracket, ensuring it sits firmly without movement. Next, we’ll route cables cleanly away from heat sources, moving relays and fuses into protective channels and guarding pinch points. Finally, we’ll follow safe charging practices by using the correct charger, disconnecting when not in use, and double-checking polarity before powering up.
Secure Battery Mounting
So, how do we secure the battery and guarantee it stays put under vibration and shocks? We start with a solid chassis mount, using a vibration-damping tray and purpose-built strap or fasteners. Tighten hardware to manufacturer torque specs, then add foam or felt pad to absorb micro-movements. Check that cables don’t contact hot surfaces or edges, and use zip ties only where appropriate to guide cables without pinching. Verify the battery sits fully seated in the tray, with no tilt. For added stability, consider a retention bracket, especially on rough roads. New rider tips emphasize routine checks—re-torque after initial rides and during seasonal changes. Brand comparisons help you assess fit, weight, and mounting compatibility without compromising safety or clearance.
Proper Cable Routing
Proper cable routing is essential for safe operation and reliable power delivery. We organize routes to minimize heat exposure, rubbing, and accidental disconnection. We select shortest, direct paths that avoid moving parts, sharp edges, and hot exhaust zones. We secure cables with nylon ties, routed away from the battery case ventilation outlets to prevent heat buildup and corrosion risk. We route positive and negative leads separately where possible, using insulated channels and grommets to resist moisture ingress. We label both ends for future service and test continuity after fitment. We implement bypass protection by adding appropriate fusing and ensuring cables won’t bypass safety devices during reconnection. We verify slack clearance at steering, suspension, and wheel travel, then recheck all connections for tightness and insulation integrity.
Safe Charging Practices
Is safe charging truly the foundation of long-term battery health and reliability? We uphold strict, methodical steps to protect our lithium packs during charging. Use a quality charger with correct voltage and current, monitor terminals, and avoid daisy-chaining devices. Check the battery case for integrity and ensure the mount remains clean and dry. Keep connections tight, unplug before inspecting, and never charge in exposure to rain or extreme heat. Store at a moderate temperature and follow manufacturer guidelines for charging cycles.
| Column A | Column B |
|---|---|
| Cable materials | Weatherproofing considerations |
| Use ignition-safe conductors | Seal enclosures against moisture |
| Align polarity carefully | Vent and vented enclosures as needed |
| Inspect for wear | Regularly test for heat buildup |
Wire, Connect, and Check Polarity for Your Battery
How do we wire, connect, and verify polarity on a motorcycle lithium battery? We approach this methodically. First, inspect the battery and connectors for damage, corrosion, or loose pins. Next, confirm the orientation: positive and negative terminals align with the motorcycle’s harness. Then, attach battery connectors securely, ensuring clean, tight connections without overtightening. Use a non-metallic tool to align posts if needed, and avoid metal contact across terminals. Verify polarity before final mounting by testing continuity with a multimeter set to resistance; expect near-zero across the correct path. Re-check each connection after installation to prevent arcing. Finally, label the wiring and pathways for future reference. These steps emphasize wire polarity awareness and careful connector handling to ensure reliable performance.
Startup and Diagnostic Tests: Crank, Charge, and Load Checks
We begin with a controlled crank to confirm the system turns over smoothly, then verify charging and load performance. We perform startup checks by observing the starter motor engagement, voltage drop, and cranking speed, noting any hesitation or noise. Next, we conduct diagnostic tests to confirm the charging circuit maintains proper voltage under load and while cranking, verifying the regulator/rectifier output and alternator behavior. We monitor battery voltage pre- and post-crank, ensuring it rebounds quickly to idle levels. We also simulate load conditions with headlights or accessory circuits to validate stability. Document results succinctly, comparing to manufacturer specs. If readings fall outside tolerances, recheck connections and fuses, then retest. We conclude with a clear pass/fail status and any immediate, non-destructive corrective steps.
Troubleshooting, Maintenance, and Long-Term Care for Lithium Batteries
Having completed the startup and diagnostic checks, we now focus on keeping lithium motorcycle batteries reliable over time. We address troubleshooting, maintenance, and long-term care with precise steps, clear criteria, and strict adherence to safety. Understanding electrolyte behavior helps predict performance changes, while battery isolation prevents cross‑contamination or shorting during storage or service. We outline consistent handling procedures to minimize damage, and we emphasize battery safety through proper charging, venting awareness, and environmental controls. Regular inspection, leveling, and torque checks for terminals reduce failure risk. Documentation of cycles, temperatures, and charges aids trend analysis and proactive replacement decisions.
Maintaining lithium motorcycle batteries requires precise, safety-first care and rigorous record-keeping.
- Monitor electrolyte behavior indicators and adjust charging or storage practices accordingly
- Maintain battery isolation during servicing and transportation
- Follow battery safety guidelines for charging, venting, and temperature exposure
- Enforce strict handling procedures and record-keeping
Frequently Asked Questions
How Long Do Lithium Batteries Typically Last in Motorcycles?
We typically see lithium motorcycle batteries lasting 3–5 years with proper care. We’ll emphasize long term reliability and debunk charging misconceptions, noting that regular gentle charging and avoiding deep discharges extend life; monitor voltage, temperature, and performance for best results.
Can Lithium Batteries Be Jump-Started or Charged With Car Chargers?
Yes, we can, but we proceed with caution. We must prioritize lithium battery safety, avoid jump-start risks, and only use a proper charger. We’ll follow manual instructions, disconnecting, matching voltages, and inspecting for damage before any jump-start attempt.
Do Lithium Batteries Require a Separate Battery Tender or Charger?
Yes, we do recommend a dedicated charger. For lithium battery maintenance, a battery tender is often necessary to maintain optimum charge without overcharging. We’ll outline usage steps and safety checks to ensure reliable, long-term performance.
Are There Warranty Exceptions for Off-Road vs. Street Bikes?
We answer: yes, there are warranty nuances between off road and street bikes. We’ve seen different terms apply, reflecting warranty nuances depending on usage. We’re discussing off road vs street, and we’ll clarify implications for you.
How Do Temperature Changes Affect Performance and Aging?
Temperature effects speed up aging mechanisms, reducing capacity and cycle life; heat accelerates electrolyte degradation, cold increases internal resistance. We monitor temps, manage charging, and avoid extreme swings to preserve performance and longevity. We’ll guide you through careful, proactive maintenance.
Conclusion
We hope this guide leaves you confident in choosing, installing, and maintaining your motorcycle’s lithium battery. By sticking to specs, verifying connections, and following safety steps, you’ll keep power steady and reliability high. Think of your bike’s electrical system as a heartbeat you must protect—pulse by pulse, bolt by bolt. When in doubt, recheck polarity and torque, then test with calm precision. With careful care, your ride stays ready for every road ahead.