We’ll guide you through a precise, methodical approach to installing a car lithium starter battery, from pre-install diagnostics to final post-install checks. We’ll cover mounting, BMS integration, fuse sizing, torque verification, and charging strategies with real-world cautions. Our aim is reliable cranking and safe operation, but the nuances of your vehicle’s alternator, wiring, and temperature effects require careful attention. Stay with us as we map each step and highlight potential pitfalls before you finalize the setup.
Key Takeaways
- Verify compatibility with your vehicle’s alternator, voltage regulator, and bus wiring before choosing a Li starter battery.
- Plan BMS integration, proper fuse sizing, and fuse placement near the battery to manage inrush and protect wiring.
- Prepare for safe mounting with vibration resistance, clearance, and correct terminal layout; ensure venting and workspace safety.
- Perform pre-install diagnostics: check polarity, baseline parasitic draw, wiring integrity, and secure connections.
- Establish a controlled start sequence, monitor temperatures, and document voltages, CAN communications, and fault codes during testing.
Lithium Starter Batteries vs Lead-Acid: What Your Vehicle Gains
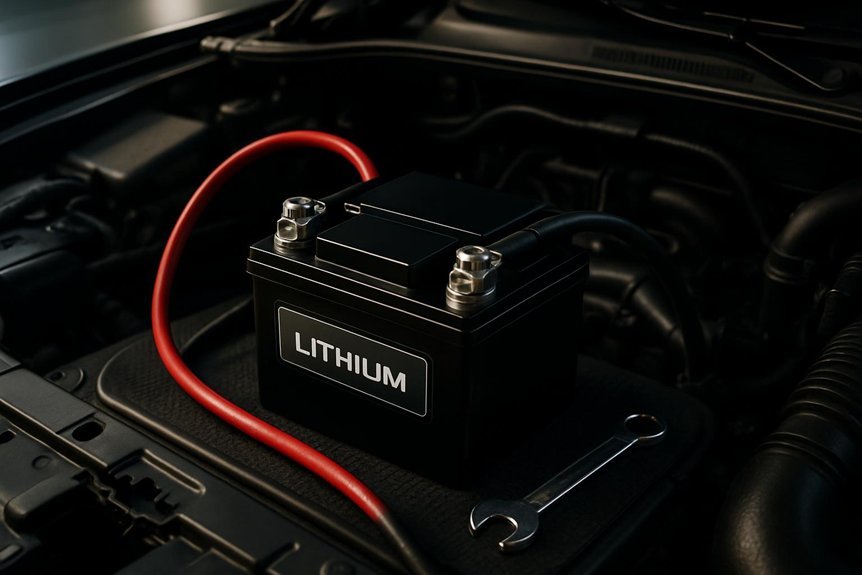
Lithium starter batteries bring several clear advantages over traditional lead-acid units, but the gains depend on how you use and maintain them. We compare lithium vs lead acid by examining energy density, weight, and cold-start performance, then translate those metrics into real-world results for your vehicle. Battery chemistry informs behavior: lithium chemistries deliver higher usable capacity, faster recharge, and flatter discharge curves, while lead-acid systems exhibit greater self-discharge and slower recovery after parasitic loads. We prioritize consistent cranking performance, reduced parasitic draw impact, and improved service intervals. Thermal management remains essential, as temperature affects efficiency and longevity in both chemistries. We assess mounting considerations, BMS integration, and safety features, ensuring you understand implications for wiring, fusing, and diagnostics without overstepping into selection guidance.
How to Choose the Right Lithium Starter Battery for Your Vehicle
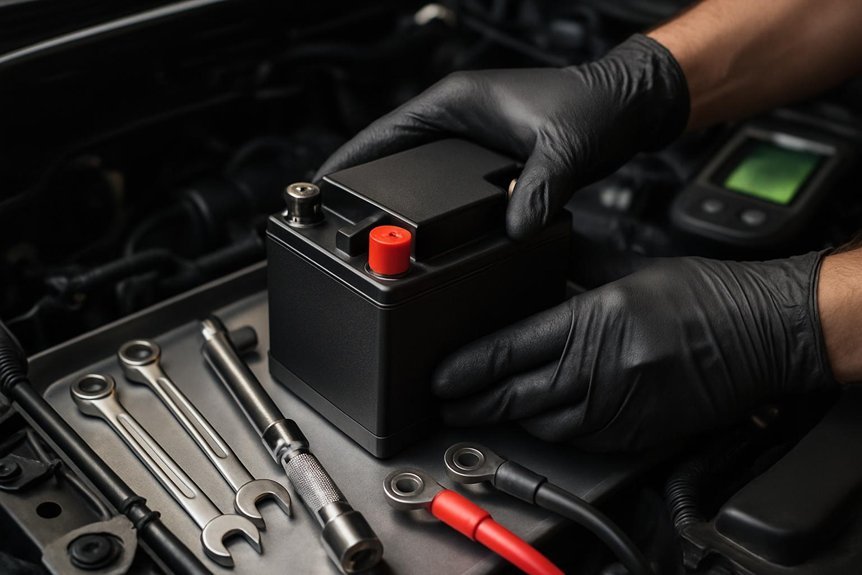
Choosing the right lithium starter battery for your vehicle comes down to matching chemistry and capacity to your needs, wiring, and starting demands. We begin by assessing cold-crank current (CCA) or equivalent, peak discharging, and routine starting cycles. Next, verify compatibility with your alternator and bus wiring, ensuring voltage regulation and connector sizing align with the battery terminals. Consider form factor, weight, and allowable space in the engine bay, plus terminal layout for simple installation. Evaluate chemistry options (LiFePO4 versus other lithium chemistries) for stability and thermal behavior under load. Plan alternative installation scenarios, such as relocation or separation from high-current loads, while confirming BMS integration for protection. Finally, quantify cost considerations—initial price, cycle life, warranty, and replacement intervals—to forecast total ownership.
Tools, Safety Gear, and a Safe, Practical Workspace

We start with a clean, well-organized workspace and the right personal protective equipment to minimize risk during installation. We outline a precise detail scope for tools, gear, and layout, ensuring each item serves a defined purpose. Gather insulated hand tools, a torque wrench, multimeter, voltage tester, and non-slip mats; keep battery terminals insulated when not in use. PPE includes eye protection, cut-resistant gloves, and a respirator if fumes are possible. Maintain a ventilated area, adequate lighting, and clear access to a dedicated fire-safe storage bin for batteries. Establish safety drills: verify power is off, confirm polarity, and perform a controlled connect/disconnect sequence. Document steps and anomalies for traceability, then reset the workspace to a ready state before proceeding.
Pre-Install Checks: Quick Diagnostics You Should Run
To start, we perform quick diagnostics to verify system readiness and catch potential issues before any hardware is touched. We begin with a visual inspection of the vehicle’s electrical system for obvious damage, corrosion, or loose connections that could affect performance. Next, we verify battery compatibility, wiring polarity, and fuse protection, ensuring the lithium starter battery matches the OEM specifications. We perform safety prechecks by confirming proper ventilation and ensuring no ignition sources are present in the workspace. We test the vehicle’s ECU and resettable fuses to confirm no fault codes will interfere with installation. We measure system voltage and parasitic draw to establish baseline, then document findings. If anomalies arise, we halt and resolve them prior to component handling. All steps prioritize safety, accuracy, and reproducibility.
Mounting First: Physical Placement and Secure Installation
We start with secure mounting to prevent movement under load, verifying that fasteners, brackets, and bases are compatible with the lithium starter battery. We’ll confirm vibration resistance, clearance from heat sources, and adequate space for cable routing and easy disconnects. Finally, we’ll document our checks for tightness, alignment, and uninterrupted airflow to ensure reliable, long-term installation.
Secure Mounting Practices
Securing the starter battery starts with choosing a stable, vibration-resistant mounting location and verifying that the base is clean, level, and free of debris. We then secure the unit using manufacturer-recommended hardware, torquing fasteners to spec and avoiding over-tightening that could crack terminals. Our mounting approach emphasizes solid contact between the base pad and mounting surface, eliminating gaps that amplify mounting vibration. We confirm that cabling exits are routed away from hot or sharp edges, with strain relief in place to prevent movement. Electrical connections receive clean, corrosion-free terminals, tightened to torque values appropriate for the connector size. We maintain clear access for inspection and service, ensuring secure clearance around the battery housing. This discipline minimizes movement during operation and supports predictable performance.
Vibration and Clearance Checks
Vibration and clearance checks begin with verifying the mounted battery remains rigid and unobstructed after initial installation. We confirm mounting hardware is tightened to spec, brackets sit flush, and cables avoid heat sources or moving parts. We assess potential vibration effects by simulating operational loads and inspecting for looseness, cracks, or misalignment. Clearance testing ensures hoses, wiring, and venting have consistent space to prevent chafing or impact during motion. We document any rebound or shift and address deficiencies before road tests. If needed, we adjust mounting points or add dampers, re-torque, and re-test until results are stable and repeatable. This disciplined approach minimizes risk and preserves battery integrity during vibration, temperature, and load fluctuations.
- Verify rigidity and unobstructed clearances under dynamic conditions
- Record torque, gaps, and potential contact points for remediation
- Reassess after any service or component change
Integrate the BMS and Size the Right Fuses
We’ll outline how to integrate the BMS with the starter battery system and determine proper fuse sizing. We’ll cover key BMS integration techniques and apply clear fuse sizing guidelines to protect wiring and components. Our aim is a concise, technically precise starting point that you can follow step by step.
BMS Integration Techniques
What are the essential steps to integrate a BMS and size the appropriate fuses for a car lithium starter battery system? We approach this methodically: verify BMS compatibility with our pack, connect sense lines and communication bus per manufacturer guidelines, and confirm cell balancing operates under load. We then select fuses based on peak discharge and wiring gauge, ensuring protection without nuisance tripping. Documentation and testing follow, validating voltage, current limits, and thermal behavior. We document lithium safety practices and maintain a clear trail for future diagnostics.
- Ensure bms integration communicates correctly with vehicle controllers and alarms
- Validate protection thresholds align with wiring, fusing, and thermal limits
- Record steps for troubleshooting and safety audits, then repeat under test loads
Fuse Sizing Guidelines
To size fuses correctly, we start from the BMS protection plan and wire gauges established earlier. Our approach mirrors typical automotive practice: we first confirm maximum continuous currents for each circuit branch, then select fuse ratings just above those values to allow startup surges without nuisance blows. Fuse sizing must align with the battery protection strategy, ensuring protection devices interrupt faults before wiring or components overheat. We specify fast-acting fuses for high‑inrush circuits and slow-blow variants where inductive loads or motor starters are involved. Each fuse is placed as close to the battery as possible to minimize lead resistance and temperature rise. Documentation includes ratings, interrupting capacity, and replacement guidelines, all integral to reliable battery protection and overall system integrity.
Torque in Practice: Tightening Techniques and Secure Connections
Is proper torque the linchpin of a reliable electrical install? Yes, and we approach it with disciplined procedure. We apply defined torque targets for every connection, verify by torque wrench readings, and document deviations. Our tightening drills combine clean surfaces, aligned terminals, and a gradual, even progression to full spec. We avoid over-tightening, which risks thread damage or bolt fracture, and under-tightening, which invites parasitic resistance and heat. We base adjustments on hardware type, stud diameter, and terminal material, then recheck after cabling is settled. Consistency across all connections matters more than peak values alone. Finally, we confirm no movement under vibration tests and perform a final inspection for corrosion protection and seal integrity.
Proper torque ensures repeatable, secure electrical connections through disciplined tightening and verification.
- torque practices ensure repeatable results across installations
- tightening drills minimize damage and optimize contact
- post-tightening verification confirms secure, clean connections
Charging Strategies, Voltage Limits, and Vehicle Diagnostics
Charging strategies, voltage limits, and vehicle diagnostics build on reliable connections by outlining how we manage charging profiles, monitor system voltages, and verify health through targeted diagnostics. We define charging strategies that respect cell balance, temperature, and charger capabilities, then apply conservative voltage limits to protect packs. We continuously monitor pack voltage, BMS state of charge, and individual cell trends to detect drift early. Vehicle diagnostics run periodic tests on grounding, connections, and CAN communications to ensure integrity under load. We document fault codes, timestamp events, and confirm recovery steps. Battery maintenance remains proactive: verify connector cleanliness, inspect fuses, and recalibrate the BMS after significant service. This disciplined approach sustains safety, reliability, and consistent performance across operating conditions.
Quick Start Guide and Post-Install Checks
Ever wonder how to bring a car lithium starter battery online quickly and safely? We’ll outline a concise quick start process and disciplined post install checks to ensure reliable operation. We begin with a controlled power-up sequence, verify polarity, and confirm system readiness before loading any high-current demands. Then we perform a systematic post install checks routine, inspecting connections, mounting integrity, and critical sensor signals to prevent parasitic drains or unexpected faults.
Ever wondered how to safely bring a car lithium starter online with a disciplined quick-start and thorough post-install checks.
- Confirm wiring polarity and terminal torque, then perform an initial voltage check before cranking
- Verify fuse status, parasitic draw, and BMS communication with the vehicle PCM
- Conduct a light-load start test, monitor temps, and review fault codes for a clean baseline
This approach minimizes risk while delivering a dependable quick start and documented post install checks.
Frequently Asked Questions
How Often Should I Test the Battery’s Cold-Crank Performance?
We test cold-crank performance monthly, or anytime we notice slower starts, to ensure reliability. In our battery maintenance routine, we document results and adjust testing frequency based on temperature, usage, and manufacturer guidelines for optimal performance.
Can Lithium Starters Be Jump-Started With Standard Chargers?
“Better safe than sorry.” We say yes, lithium starters can be jump-started with standard chargers, but follow lithium safety and charging guidelines meticulously, using a compatible charger, supervision, and respecting voltage/current limits to avoid damage or hazards.
What Warranty Considerations Apply to Lithium Starter Batteries?
We offer warranty coverage that typically includes defects in materials and workmanship, with replacement terms based on battery age and usage; ensure proper installation and maintenance to retain coverage and understand exclusions and claim procedures.
Do Lithium Starters Require Special Alternator Settings?
Yes, lithium starters require careful attention to alternator compatibility; we adjust output only if needed. We prioritize lithium starter safety, verify regulator charge profiles, and confirm wiring meets specs before installation and use.
How Long Does a Typical Lithium Starter Hold a Charge Unused?
We can’t promise eternal magic; lithium starters typically hold a charge for weeks to months unused, depending on temp and state of health. We monitor lithium safety and charge retention, documenting voltage drift and self-discharge rates for accuracy.
Conclusion
We’ve navigated this installation like builders laying a lighthouse on a storm-dark coast. The battery, our beacon, requires meticulous prep, a steadfast mount, and a vigilant BMS to hum with safety. When we connect fuses, torque bolts, and test the charging heartbeat, we’re not just wiring a box—we’re charting a course for reliable cranks and steady starts. Follow the plan, respect limits, and the system will illuminate every journey with confident, consistent power.